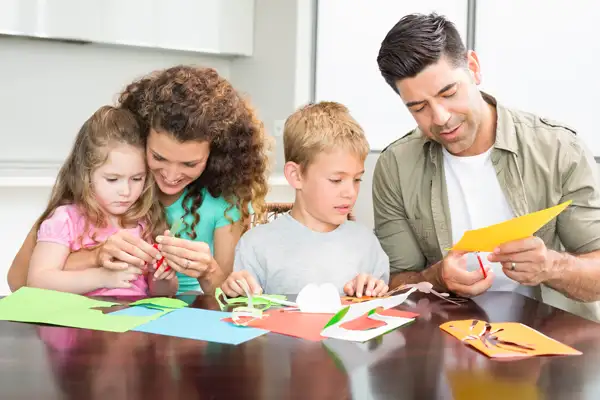
Kids often make arts and crafts while in school, from cute fall decorations for the classroom to pictures of what they did this past summer with their families. Have fun with your kids at home and make one of these five travel-related crafts from souvenirs, ticket stubs, photos and more from your most recent family vacation.
Ticketed Picture Frames
What You Will Need: ticket stubs, mod podge glue, paint brushes, wooden picture frames
Simple wooden picture frames are available at your local arts and crafts store and are inexpensive. Take all of those ticket stubs from your most recent trip and let the kids mod podge them to the frames. The mod podge glue can be painted right over the ticket stubs onto the frames with paint brushes – it will dry clear and the ticket stubs will be securely “stuck” to the frame. Allow the frame to dry for 24 hours and then place a picture of your family at the attraction, theme park or museum in which you visited and received your tickets from, inside the frame!
Travel Journals
What You Will Need: journals or notebooks, stickers, paint, glue, family photos, ticket stubs, glitter, markers, etc.
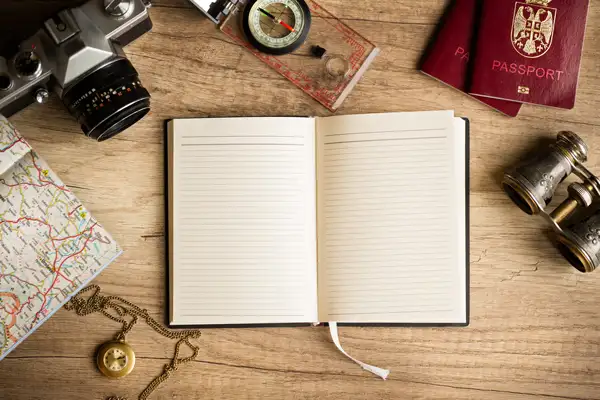
A great way for kids to really connect with their family vacation is to write about it. Before your next trip, or if you would like them to reflect on this past one, pick up a journal or notebook from your local store. Allow your kids to decorate the covers with markers, glitter, stickers, photos – really anything! Have them personalize it and then allow them to draw pictures of where you’re family has gone or write about where you will be traveling next inside the journal. Travel journals can be taken on the road and will also be a way to keep the kids busy when on the plane or in the car. They’ll enjoy looking back on their family vacations years from now, too.
Sand Ornaments
What You Will Need: sand, clear glass ornament, funnel, colorful tape, ribbon
If you visited a beach in the Caribbean or some other exotic area this past summer (or maybe even just the Jersey Shore), hopefully you brought home some sand as a souvenir. If not, then plan to do this on your next trip!
Pick up clear glass ornaments from your local arts and crafts store. Have your children use the funnel to fill them with sand — any amount that they want, but know it may get heavy – and use the colorful tape to close off the top hole when done. Use matching ribbon as the string that will allow the ornament to hang. Cut it to at least 12 inches in length and tape both ends to the top of the ornament, so that it forms a loop. You can stop here and have the craft completed, but feel free to let your kids bedazzle the outside of the ornament with glitter, stickers and other fun decorations. Since the ornament is clear, they’ll be able to see the sand inside!
Photo Map
What You Will Need: medium-size map of the continental United States, photos of your family, scissors, glue, stickers
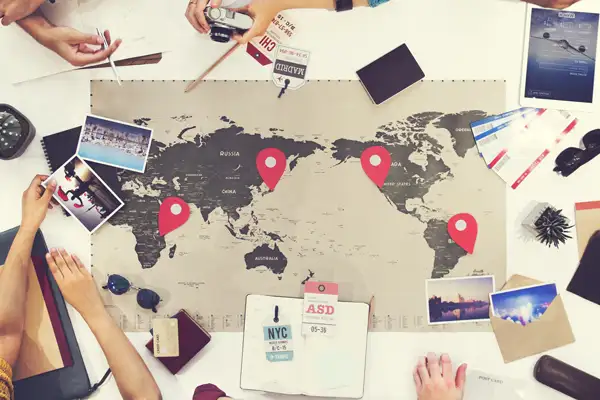
Have you recently visited Florida or California? A fun way to document where your family has traveled is by making a photo map of where you’ve visited! Before passing the photos to the kids, measure them out against the map and cut them into the shape of the states in which you have visited. (Note: If your kids are old enough to use scissors, let them try, too!) Allow the kids to glue the photos to the map, having them match the photo to the state in which it is shaped. They’ll be able to see where the states are located in comparison to where you live, which will also teach them about geography.
Another fun thing to do with this map is to have the kids place stickers on the states in which they would like to visit next! (This will also give you ideas for next summer’s family vacation!)
Homemade Disney Ears
What You Will Need: black headbands, black paper, red ribbon, glue
Have your kids make their own Mickey Mouse ears before your next trip to Walt Disney World or Disneyland. Cut out “ears” from the black paper. They should be an oval or circle shape (like Mickey’s ears!) with about a one-inch rectangle on the bottom — you will need two per headband. Glue the rectangle bottom of the ear to the inside of the headband. Do this again with the other ear and be sure they are spaced well on the headband. One ear should be secured on the upper left side of the headband, and the other ear should be secured to the upper right side of the headband. Bend the paper ears so that they stand up in the appropriate way. You’re all done with your Mickey Mouse ears!
If you want Minnie Mouse ears, use the red ribbon and cut and tie it into a bow. Glue it to the headband directly between the two ears, or make two small bows and place one in front of each ear. Allow the glue to dry before wearing.
What are a few other great travel-related crafts to make with kids? Share your ideas in the comments below!
More From Family Vacation Critic:
9 Best Vacation Souvenirs for Families
10 Ways to Amuse Kids at the Airport
Our team of parents and travel experts chooses each product and service we recommend. Anything you purchase through links on our site may earn us a commission.


